How To Find And Process Natural Clay For Pottery
For most artists in the world today, getting a hold of quality clay usually means ordering it from the local artisan shop or even online. And while there’s absolutely nothing wrong with doing it, it is often considered a specialty item and may cost a fair amount, especially considering that clay can be found abundantly in nature. For those that want to use natural clay for their pottery while also saving some money, these are some simple steps to follow in order to do just that.
Finding a Natural Deposit
Clay makes up more than 80 percent of the furnace land of the earth, meaning that finding a good source of natural clay should not take too long. There are some places that should contain enough clay for most of an artist’s needs. THe best places to look include road cuts, construction sides, streams, and river banks – anywhere the land has been exposed. From there, it’s a matter of choosing the deposits that look the best, while also making sure that the clay is not contaminated with any debris.
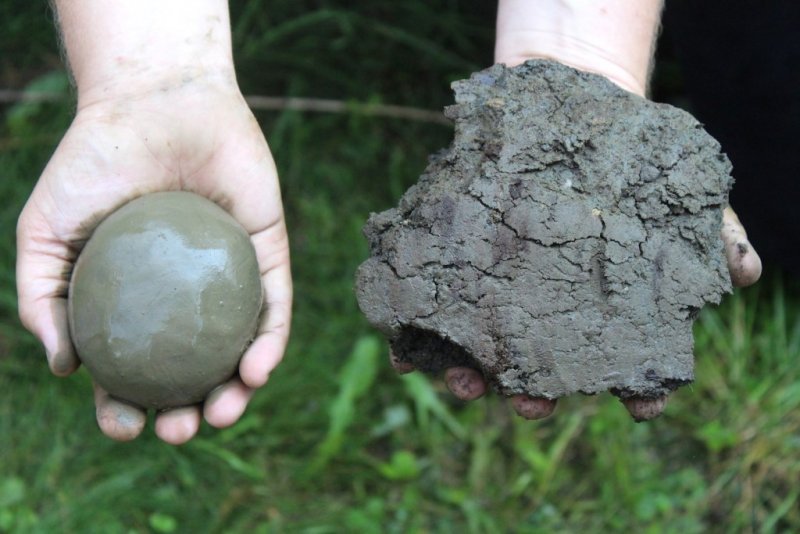
Processing The Clay
There are two main types of processing: wet and dry. Wet processing is quite straightforward, and is the best way of removing any unwanted debris from the clay, such as roots, rocks, twigs, and other organic matter. The clay should be crushed using a large mallet or other heavy object, and then once it’s dry it’s put through a sieve. Another way is to first slake the clay in water, dry it, and then once again put it through a sieve – drying provides the perfect time to enjoy a snack or a game at casino mate. The type of mesh used to sieve the clay is important, as finer meshes will ensure that the clay is well-cleaned and that no loose debris will impact the pottery process down the line. Once the clay is sufficiently cleaned, it will need to be worked into an appropriate consistency.

Test Clay
Before using the clay in a real project, it’s vital to first test to make sure that the clay is quality, otherwise it could ruin a full day’s work. This is done by creating several test pieces that are made of upright components, making it easier to find any deformations within the clay. Bowls are a good idea, as they stand upright, but it’s also possible to make cups and other containers. Tracking each piece is advised, as it allows the artist to see which type of clay works the best for their needs – and this can easily be done while adding indicators to the clay while it’s still wet.
Firing The Tests
Testing the clay is an extremely important process as it allows the artist to learn the workability of the clay, and what it would be best used for. It’s recommended to fire the test pieces on bisqued plates that are larger than the test pieces and can take more heat. Some of the attributes to look out for include the absorption rate and the shrinkage. If the clay is to satisfaction, it can then be used for more advanced projects.