Beginners Guide to Creating Agateware
As pottery beginner, you may not realise that you’re able to create striking ceramics without the use of coloured glazes and agateware is one way of doing so. Agateware is created by mixing different clay bodies of different colours to produce a marble effect. Particularly favoured by world famous potter Josiah Wedgewood, you too can create pottery of this kind using our beginners guide to agateware.
What is Agateware?
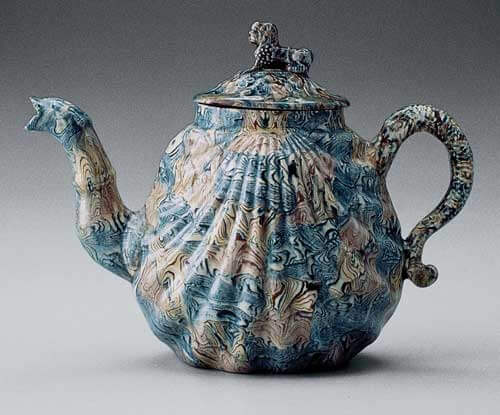
First recorded in China during the Tang Dynasty of 618 to 907 CE, the agateware technique finally made it to Europe in the 17th century and was made famous in the 18th century by Britain’s Stoke-on-Trent potters. The name of this unique technique is said to originate from the similarities the finished product bears to agate stone. Once agateware clay has been mixed it offers many swirling layers of various colours which is precisely what the semiprecious stone agate looks like when cut open.
How to Prepare Agateware Clay
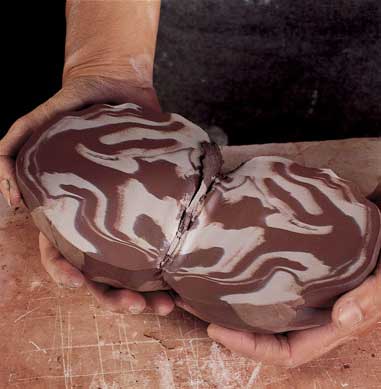
In order to begin creating agateware, you’ll need several clays of different colours and the number of colours you decide upon depends on what you want your final product to look like. White clay is typically used in combination with darker clay to give a high contrast marbled effect, but it’s important that you combine only clays of similar firing temperatures. Slice the clays into blocks and stack in layers and once the clays are layered, you’ll have to carefully roll it – as careful as you are with your bankroll when playing online pokies NZ.
How to Use Moulds for Agateware
You may decide to simply roll out the clay and press into the mould or you can go for a more intricate pattern by cutting the rolled out clay into horizontal strips of equal length and then swapping the strips in order to create a more abstract effect. However, you should be careful when rolling so as to not blend the colours too much. If you want to create circular patterns, layer the clay and then roll into a tube shape and cut circles.
How to Throw Agateware on a Wheel
Maintaining the marble effect of agateware is tougher when throwing on a wheel, so it’s important to work as quickly as possible. We recommend centring the clay quickly and avoiding pulling the clay up too many times while rotating the wheel slowly and not handling the clay too much.
Glazing Agateware
Whether you’ve hand built or wheel thrown your agateware piece, you should leave it to dry until leather hard and then buff the piece to produce a high-shine natural polish effect. While the patterns created with the marble effect are generally striking enough to be left without a glaze, if you do not want to buff the piece, you may make use of a clear glaze to achieve the same effect. If you’re creating a purely decorative agateware piece, you can forgo both buffing and glazing, but if you want to make your piece food safe you will have to apply a light glaze.